How to Create Your Content Library Folder
Watch Our Demo 👇
Overview:
Our content library helps you store and organise your content. Here's a step-by-step guide to creating a Content folder on Wisdome.
Content Library features:
Create content folders and sub-folders
Add a content page
8 content page templates
Rich Text Editor with the following features:
Change font size
Select font format
Add images, videos, and audio files
View backend code
Select full-screen mode
Preview your work
Print
Change text height
Embed links
Embed HTML
Details Needed:
Folder Name (maximum of 50 characters)
Subtitle (maximum 150 characters)
Image (This is your folder's profile image; 1000 x 1000px)
Schedule (Date this folder would be available to your customers)
Expiry Date (This setting will set a time limit for your members to access your content.)
Membership Level Access
The Process:

1. Select "Content Library" and click "Create New " and select 'Folder.'

2. Enter the following information:
Folder Name
Subtitle (maximum 150 characters)
Image (This is your folder's profile image; 1000 x 1000px)
Schedule (Date this folder would be available to your customers)
Expiry Date (you may also add an expiration date to access your content.)
Membership Access Level
Note:
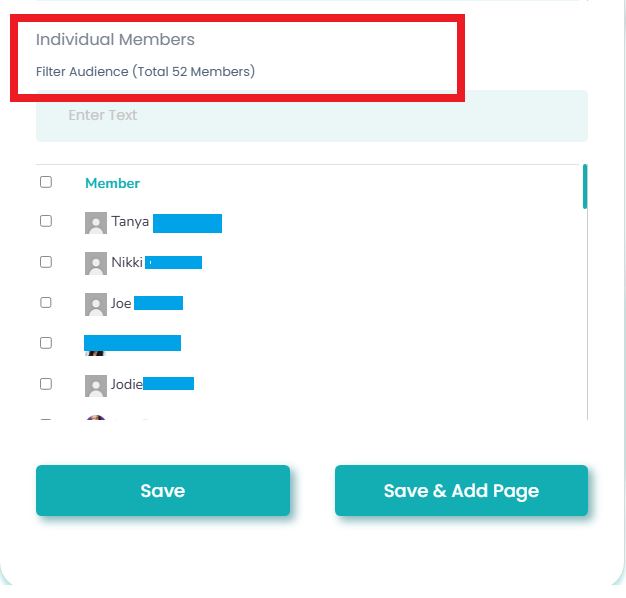
The Individual Members section allows you to grant access to a folder for specific individuals without creating a new access level.
Granting Access to a Folder:
Select the checkbox next to the member’s name.
Click Save to confirm.
Related Articles:
How To Create a Content Library Sub folder
How to Add Content to Your Content Library Folder
How To Edit Your Content Library Sub Folders