How to Set Up Automated Emails
Watch our Demo below 👇
Phase 1:
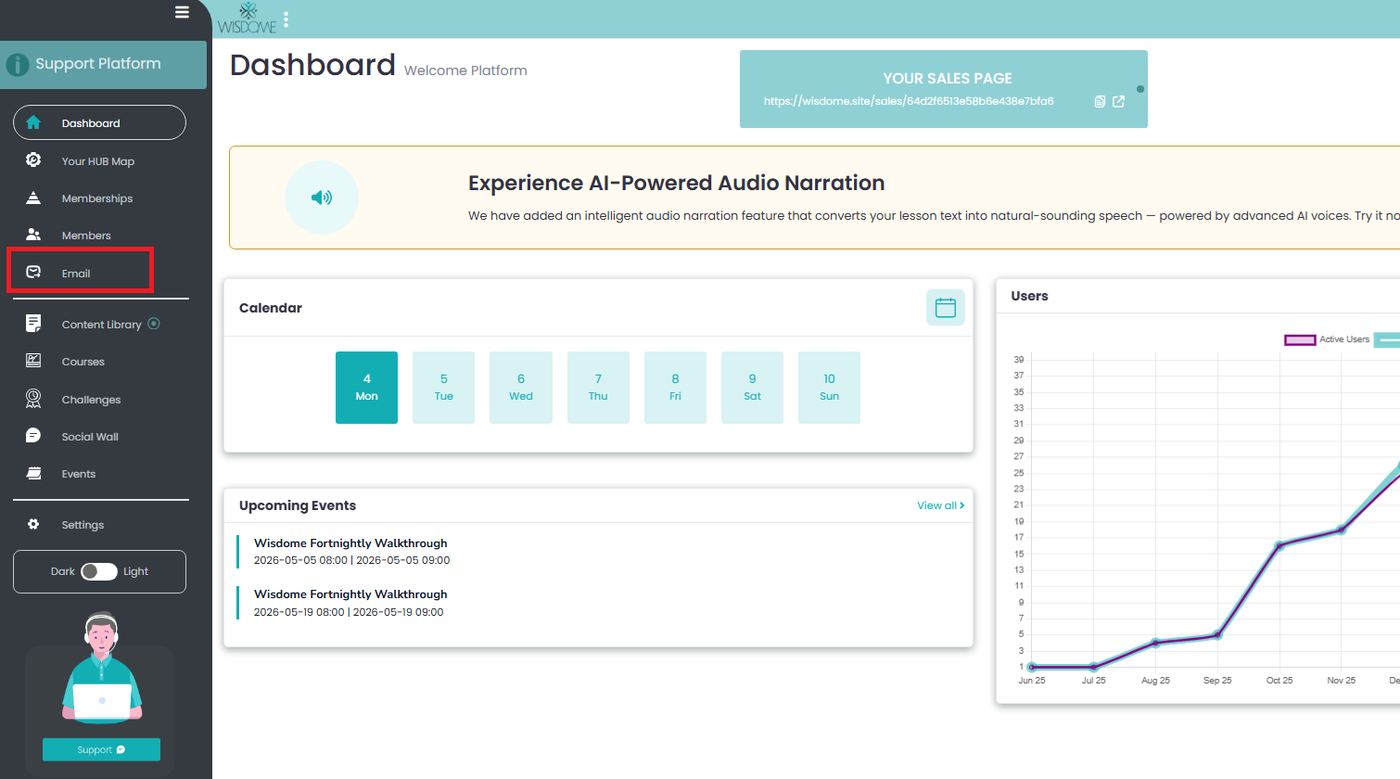
1. Log in to your admin account and navigate to the Email tab.
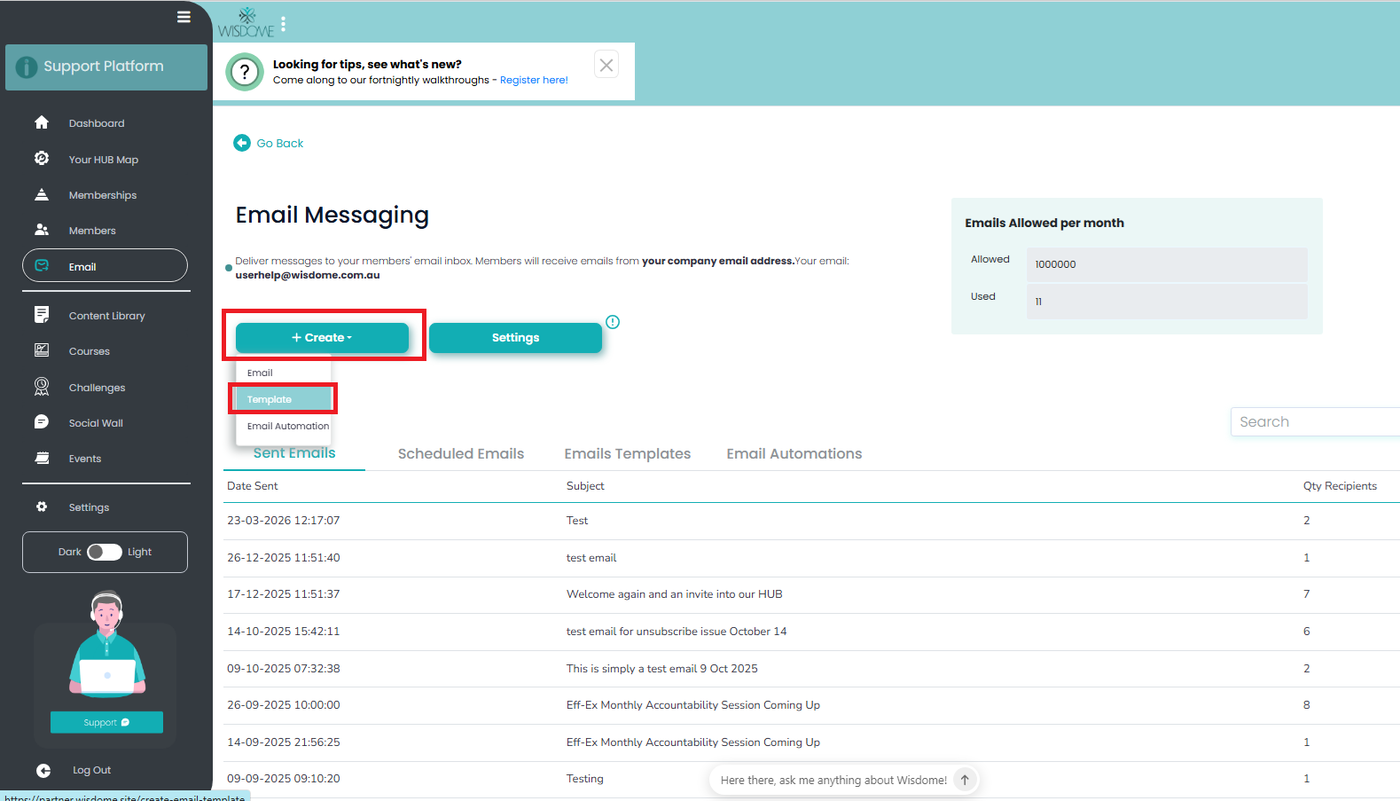
2. Click +Create New Template.
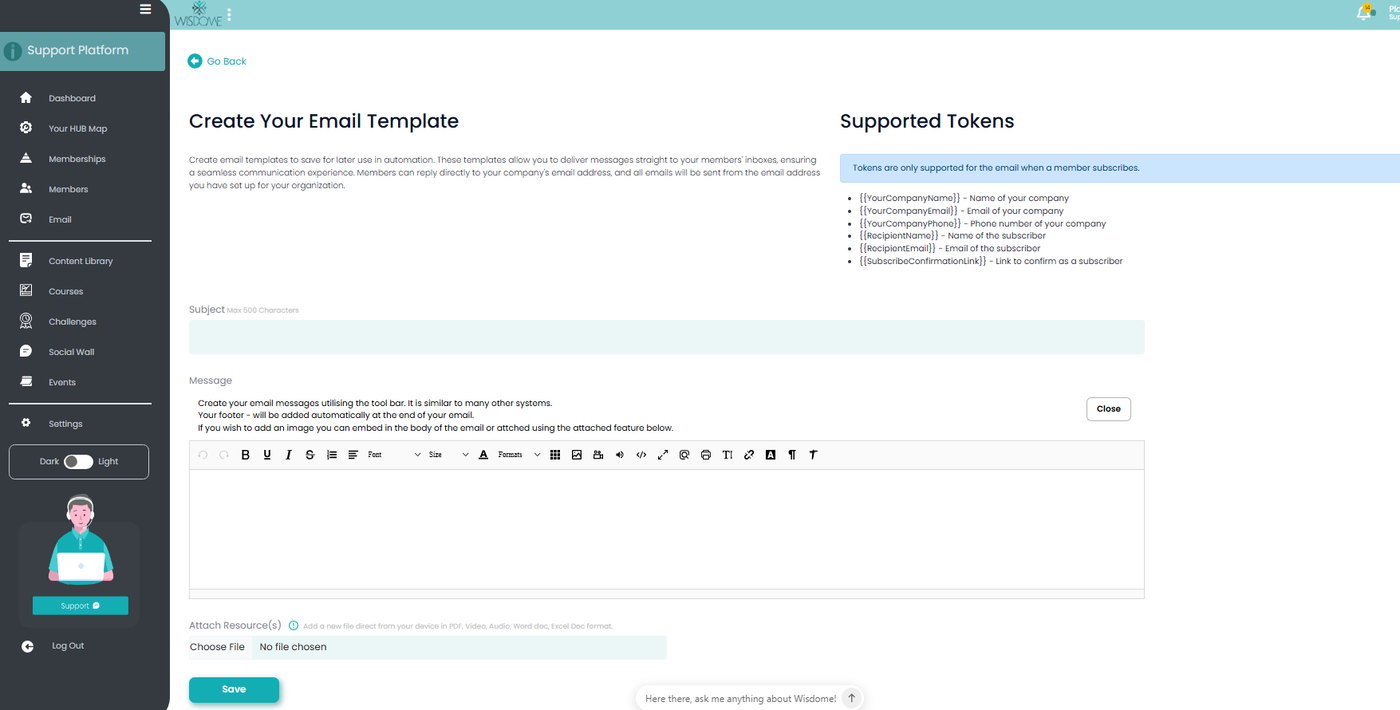
3. Complete the following fields:
Subject: Enter a compelling subject line.
Message: Compose your email body and add any necessary attachments.
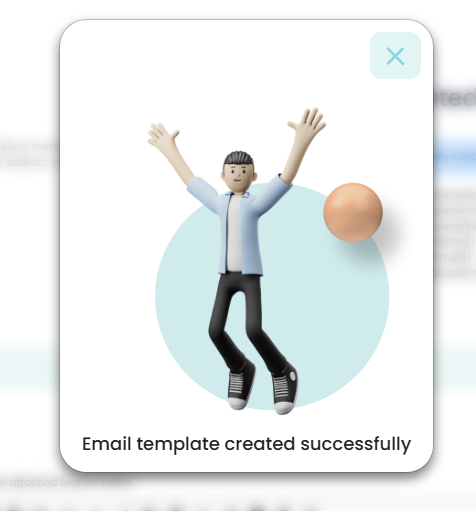
4. Click Save, then click the X on the confirmation message.
5. Repeat: Repeat this process for every email intended for your sequence (e.g., Day 1 Welcome, Day 3 Follow-up).
Phase 2: Build the Automation Sequence

1: Access Email Automation
Log in to your Wisdome dashboard.
Navigate to the ‘Email’ tab.
Click "+Create,'' then select ‘Email Automation’ from the dropdown menu.

2: Name Your Automation
Enter a name for your automation in the ‘Automation Name’ field.

3: Set the Trigger Condition
In the ‘Condition’ field, choose the event that will trigger the email. For example:
Select ‘Contact Enrolls for a Course’ if you want the email sent after a course enrollment.
Specify the associated item or product. For instance:
Choose the specific course or membership plan tied to this automation.
Click “Next.’’

4: Schedule Your Email
Set the timing for your email:
Enter a number in the first box.
Select ‘minutes,’hours,’ or ‘days’ from the dropdown menu and click 'Next.’
5: Select Your Template

Choose the template you created from phase 1.
Click ‘Next.’
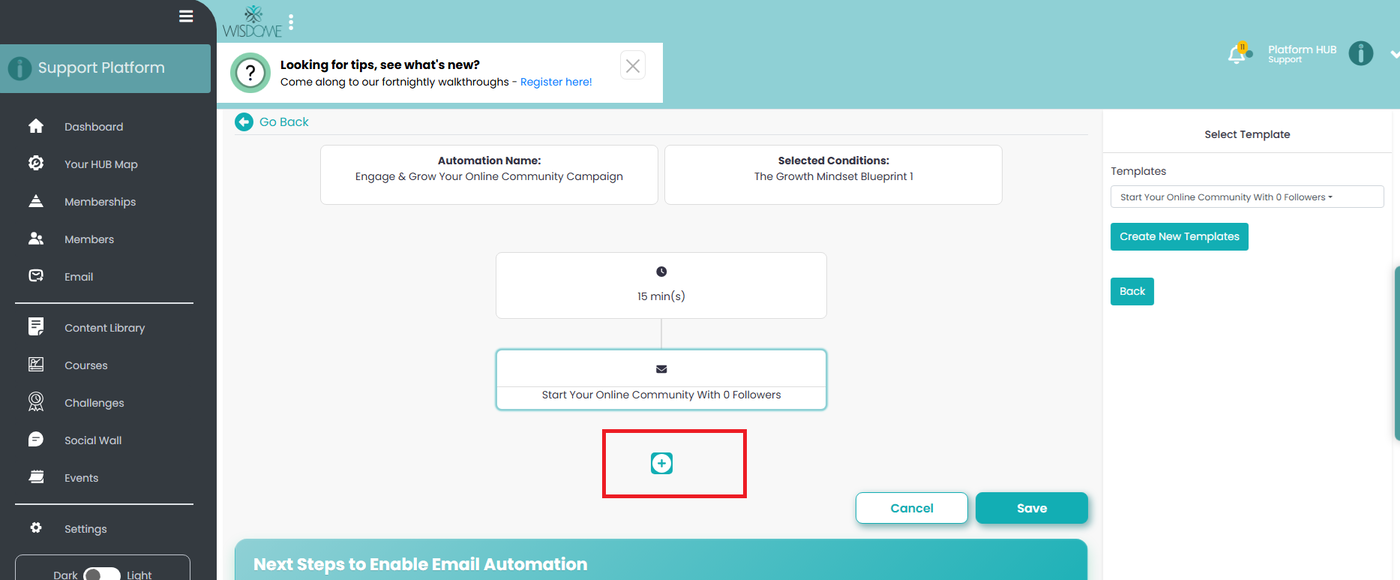
Add follow-up emails: Click the plus (+) icon to create a new step that triggers after the initial email is sent.
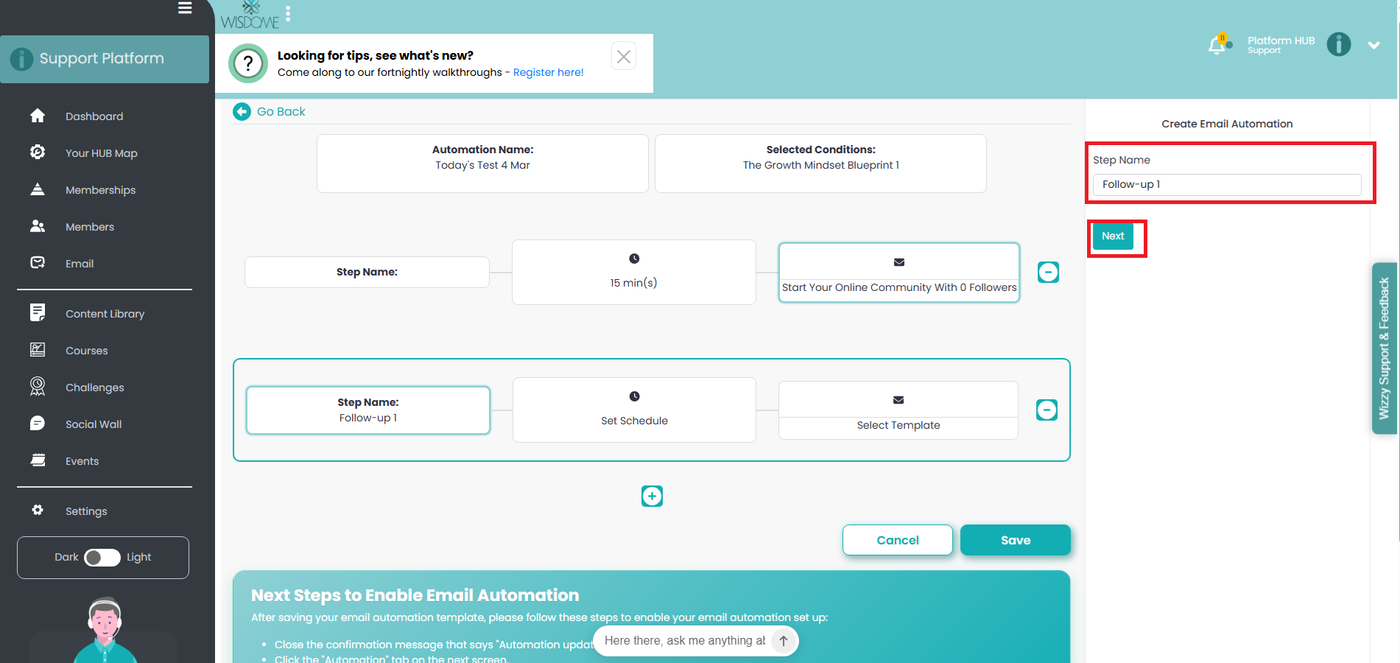
Name the Step: Provide a clear name in the Step Name section (e.g., "Day 2 Email" or "Follow-up 1") and click ‘Next.’
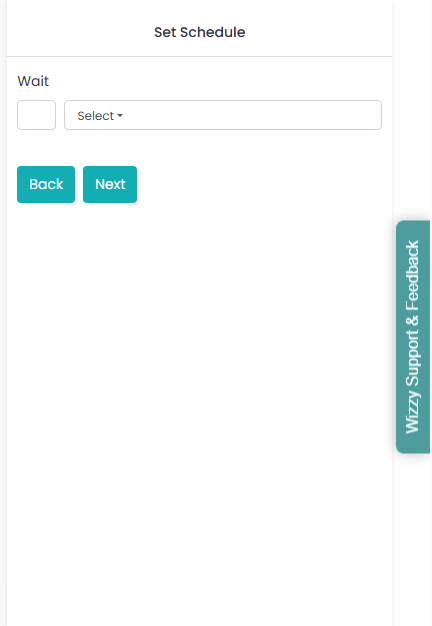
Set Your Delivery Schedule
Define the Interval: Enter a number in the first box.
Select the Unit: Choose minute/s, hour/s, or day/s from the dropdown menu.
Example: To send the second email exactly 48 hours after the first, input 2 in the box and select day/s from the menu.
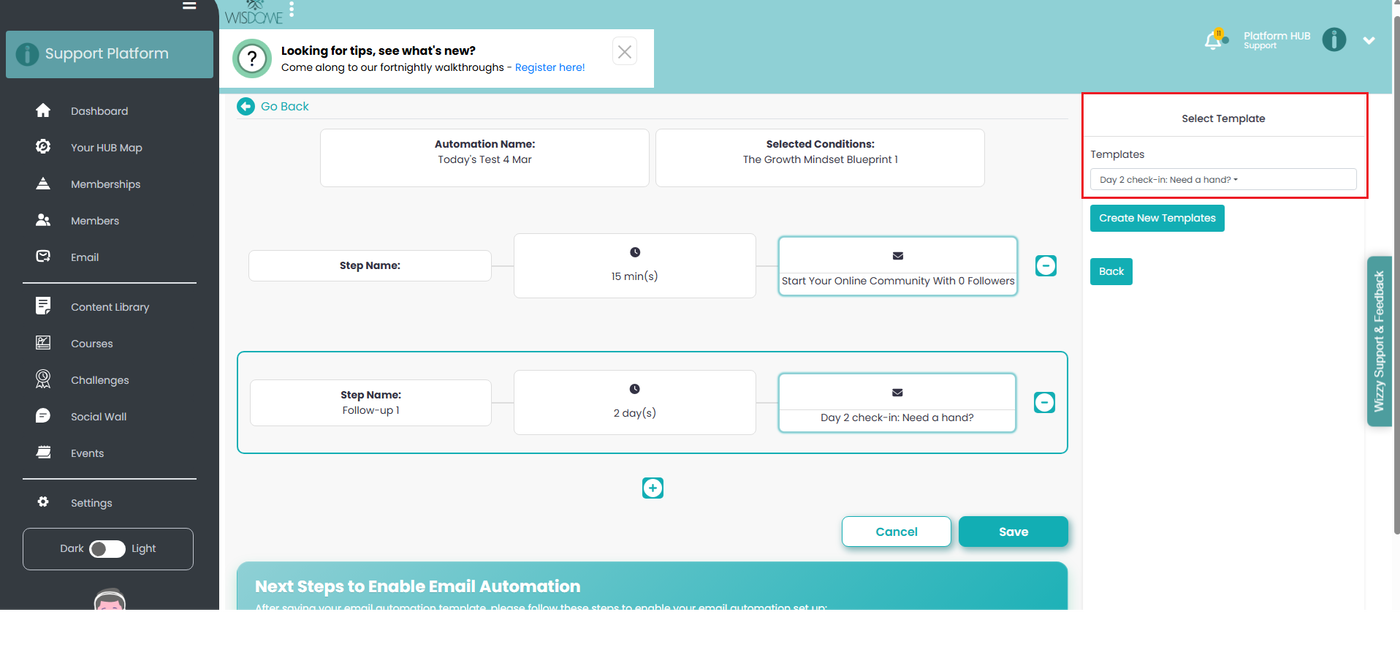
Select your second template: Choose your next template.
Review and Save: Repeat the steps above for additional emails in your sequence.
Save Your Work: Once all steps are added, click Save.
Confirm and Activate Your Email Automation
Close the message by clicking ‘X.’
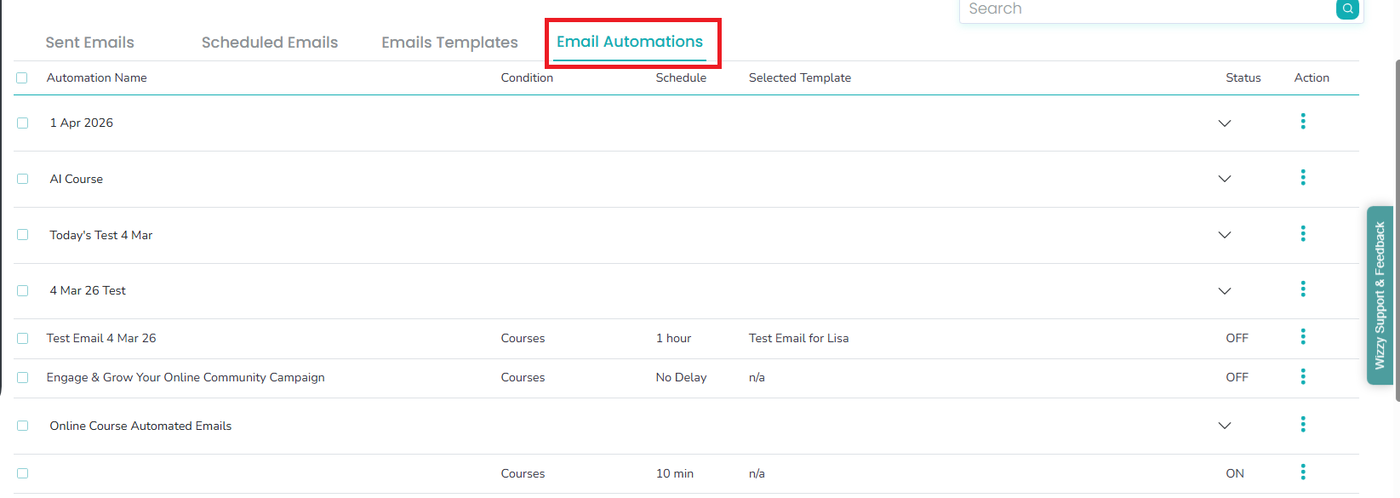
Click the ‘Email Automations’ tab and do the following:
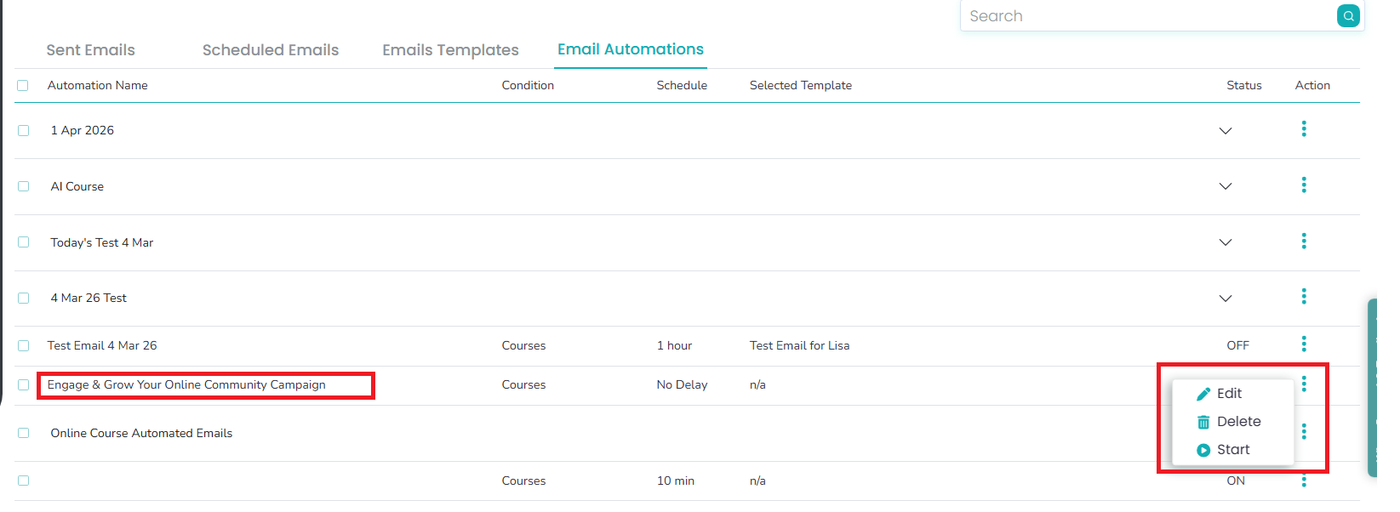
Select the menu icon (⋮) underneath the 'Action' field.
Select ‘Start’ to activate your email automation. Once completed, a confirmation message 'Email Automation Started Successfully' will be displayed on your screen.

Congratulations! Your email automation is now successfully set up and active.