How To Add Events to Wisdome
Watch our demo video:

Overview:
Increase customer engagement, promote your services, and build brand visibility with Events on Wisdome.
Use the following functions to create engaging events:
-
Add event name
-
Rich text editor with the following functions:
-
Change font size
-
Select font format
-
Add images, video and audio files
-
View backend code
-
Select full-screen mode
-
Preview your work
-
Print
-
Change text height
-
Embed links
-
Embed HTML
-
Set your start date and end date
-
Choose start time and end finish time
-
Add a cover image/video
-
Upload event files Max of 10 MB
-
Add your live stream link
-
Check the box that says "Accepting participants."
-
Choose the "member level access."
-
Save Event for Repeats
The Process:

1. In your dashboard, go to 'Events' and click 'Add Event.'

2. Add the following information:
Event Name (Max 150 characters)
Event Description (maximum 1500 characters). In the event description section, you may add the following:
Event image
Downloadable materials
Link to a landing page
Any relevant resource page
Other Details You'll Need:
Event start and end date
Event start and finish time
Upload Event file (maximum 10 MB). Here you may add a downloadable file with details about the event or your promotional video.
Your live stream URL
3. Check the box that says "Accepting Participants."

4. You may also sell your event separately. Simply turn on the toggle button to activate this feature and set your price.

5. You can show this event on your 'Sales Page' by activating the button next to 'Show on Sales Page'.

6. If this event is for a specific member access level, activate the radio button specific to your member access level.
5. Turn on the 'Save Event For Repeats' if this is a recurring event.
6. Click 'Create Event.'
How to Share Your Event with Your Audience

Step 1: Access Your Events Calendar
- Go to ‘Events’ and locate the event you want to share.
- Click on the event name.

Step 2: Select the Share Option
Once inside the event details, click the ‘Share’ button. You will see two sharing options:
- Event URL
- Checkout URL
Step 3: Choose the Right URL to Share 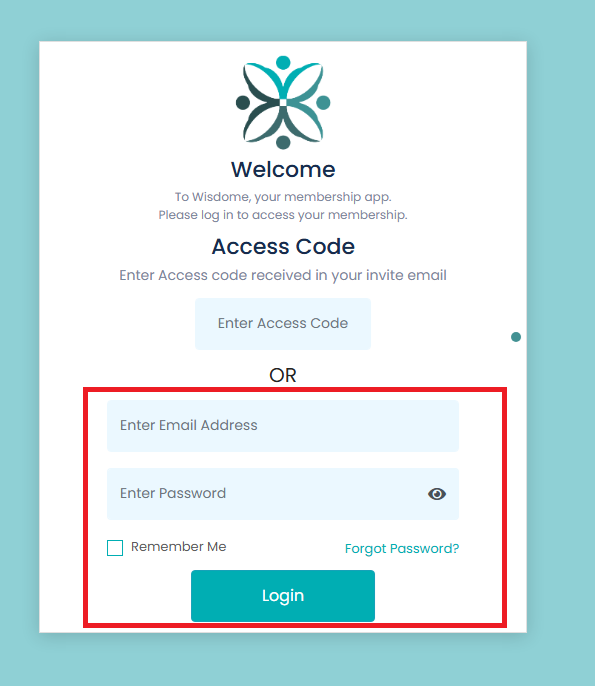

-
Event URL:
Use this for your existing members who already have access to your knowledge hub. They’ll be prompted to log in to view the event details and register.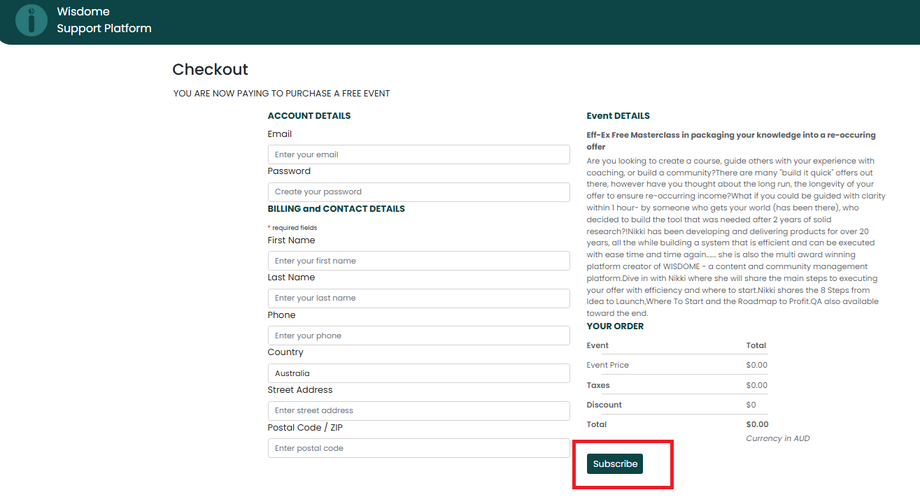
-
Checkout URL:
Use this for your new audience who are not yet members. They’ll be directed to a page to provide their details and subscribe.
