How to Convert Your Course Lesson Into Audio Narration
Purpose:
This guide shows you how to generate audio narration for a lesson in your course.
Step-by-Step Process
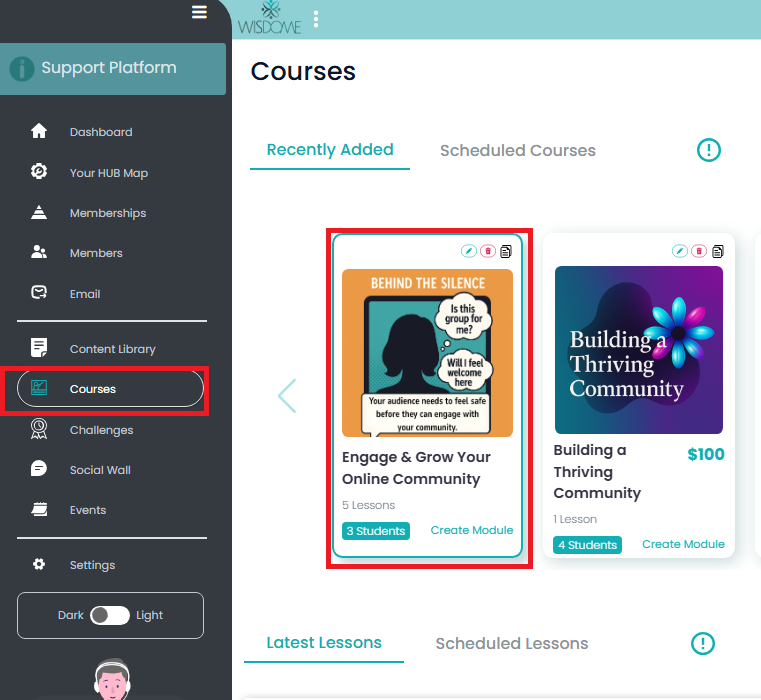
1. Access Your Course
-
Open Courses from the left-side dashboard menu.
-
Select the course folder you want to update.
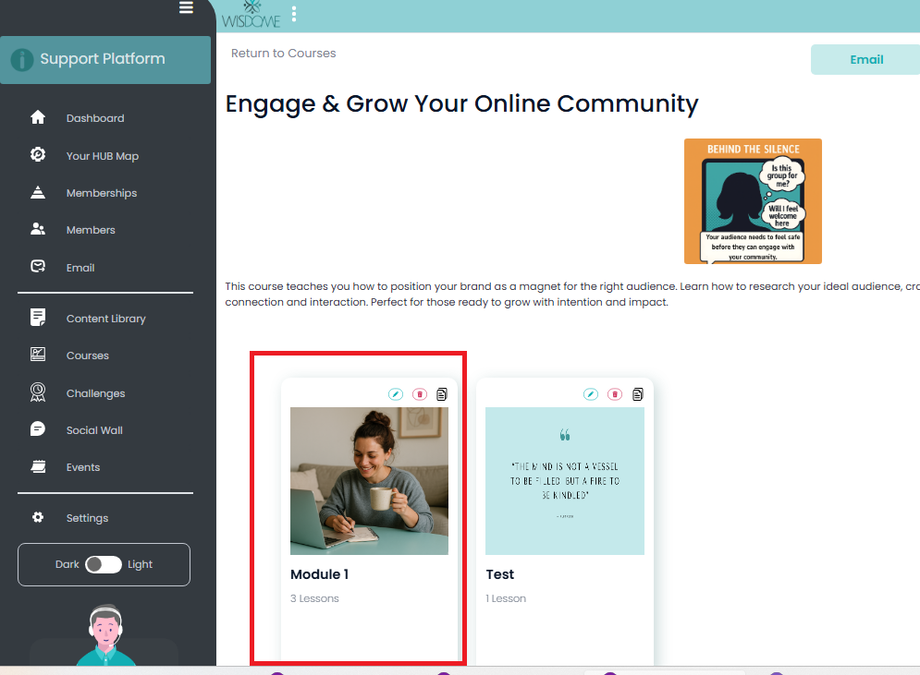


2. Locate the Lesson
-
If your lesson is inside a module, open the module first.
-
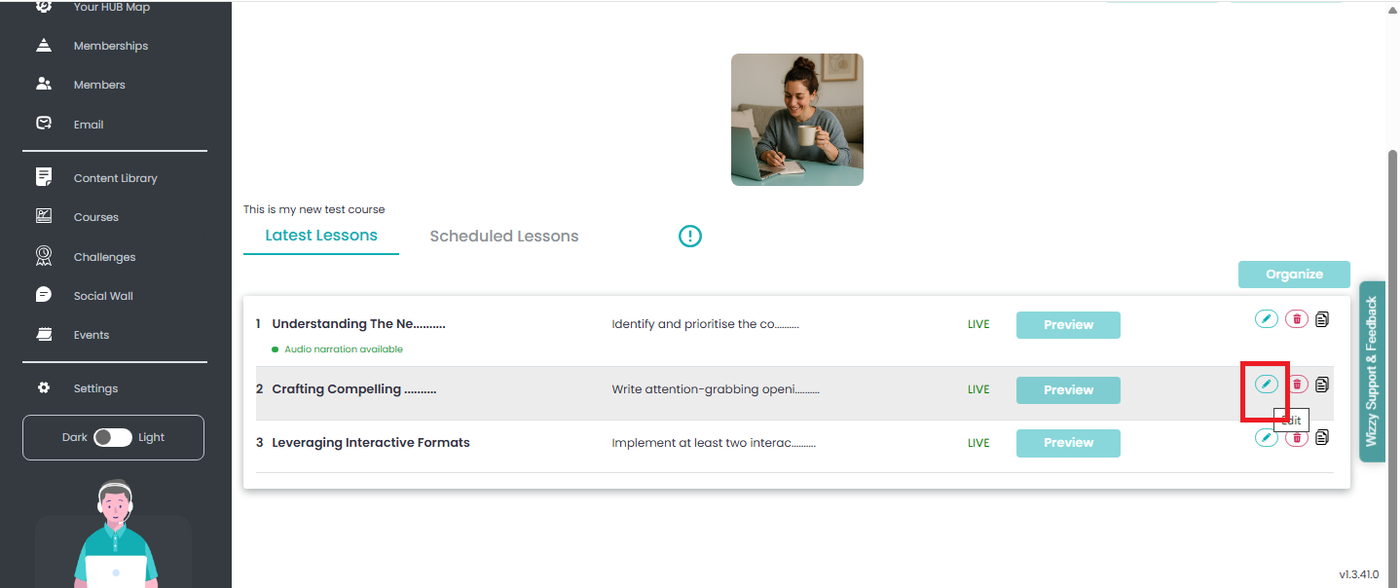
Scroll to find the specific lesson you want to turn into audio.
-
Press the edit icon ( pencil icon) on the right side of the lesson row.

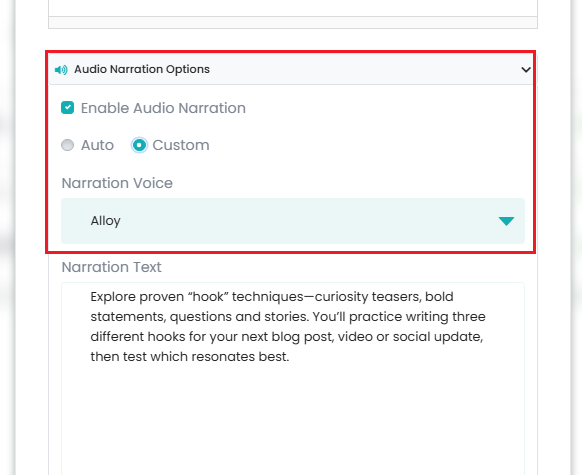
3. Enable Audio Narration
-
Scroll down until you see Audio Narration Options.
-
Tick Enable Audio Narration.
4. Choose Narration Mode
-
Auto: The system will automatically generate audio from your current lesson text.
-
Custom Mode: Allows you to refine your script.
-
Ensure spacing and punctuation are correct so the AI reads it clearly.
-
Optional: Add a short intro to personalise the narration (e.g., “Welcome to this lesson…”).
-

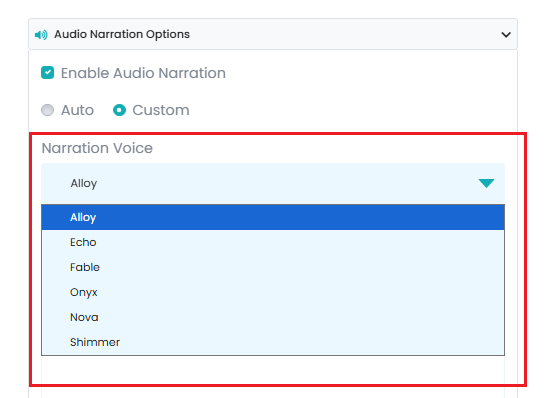
5. Select Narration Voice
-
From the Voice Selection dropdown, choose your preferred AI voice.
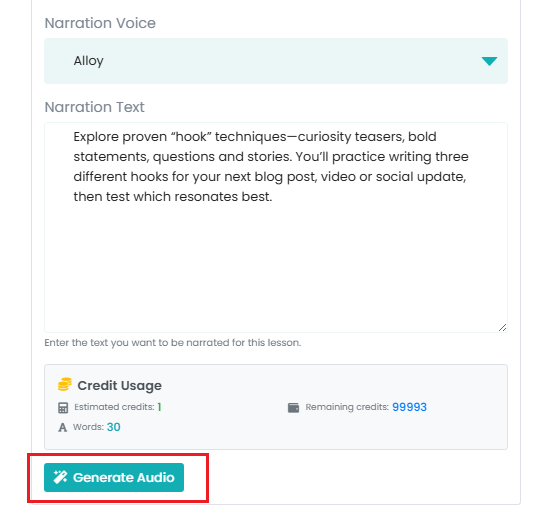
6. Generate the Audio
-
Paste or review your lesson content inside the Narration Text field.
-
Reminder: The system will display the number of audio credits that will be used.
To avoid consuming extra credits, finalise your script before generating. - Press Generate Audio.
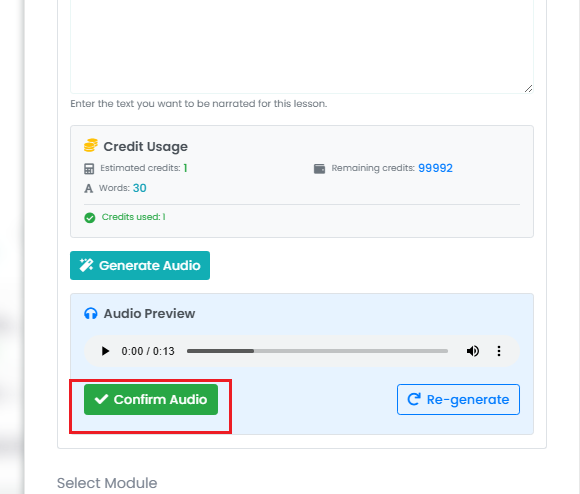
7. Review and Confirm
-
Once processing is complete, preview the audio playback.
-
If you're satisfied, select Confirm Audio.
-
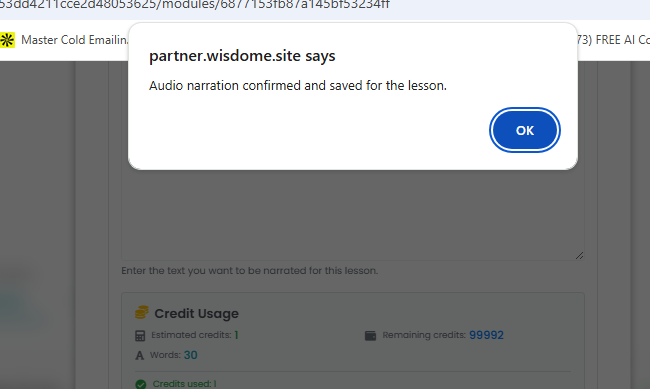
A confirmation pop-up will appear. Press OK to proceed.
 9. Save Your Lesson

-
Select Update Lesson to apply and save the audio to your lesson.
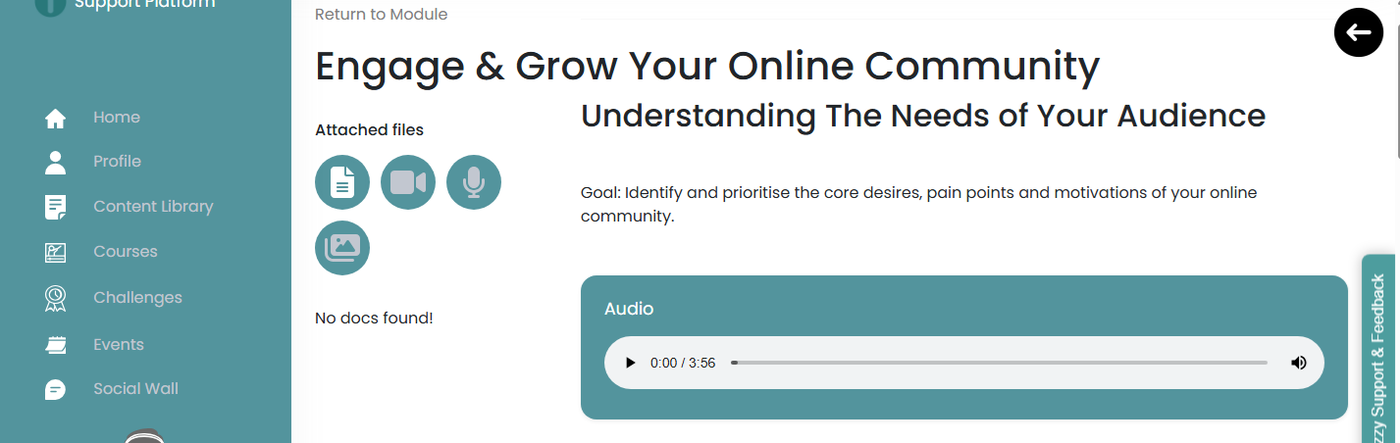
Note: This is what your audio lessons look like on the member side.